Four progressive projects.
Each project introduces exactly one new variable so that when something goes wrong, you know which variable to isolate. Work them in order the first time — you'll build a muscle-memory foundation that makes the sculpted piece in Project 04 achievable rather than frustrating.
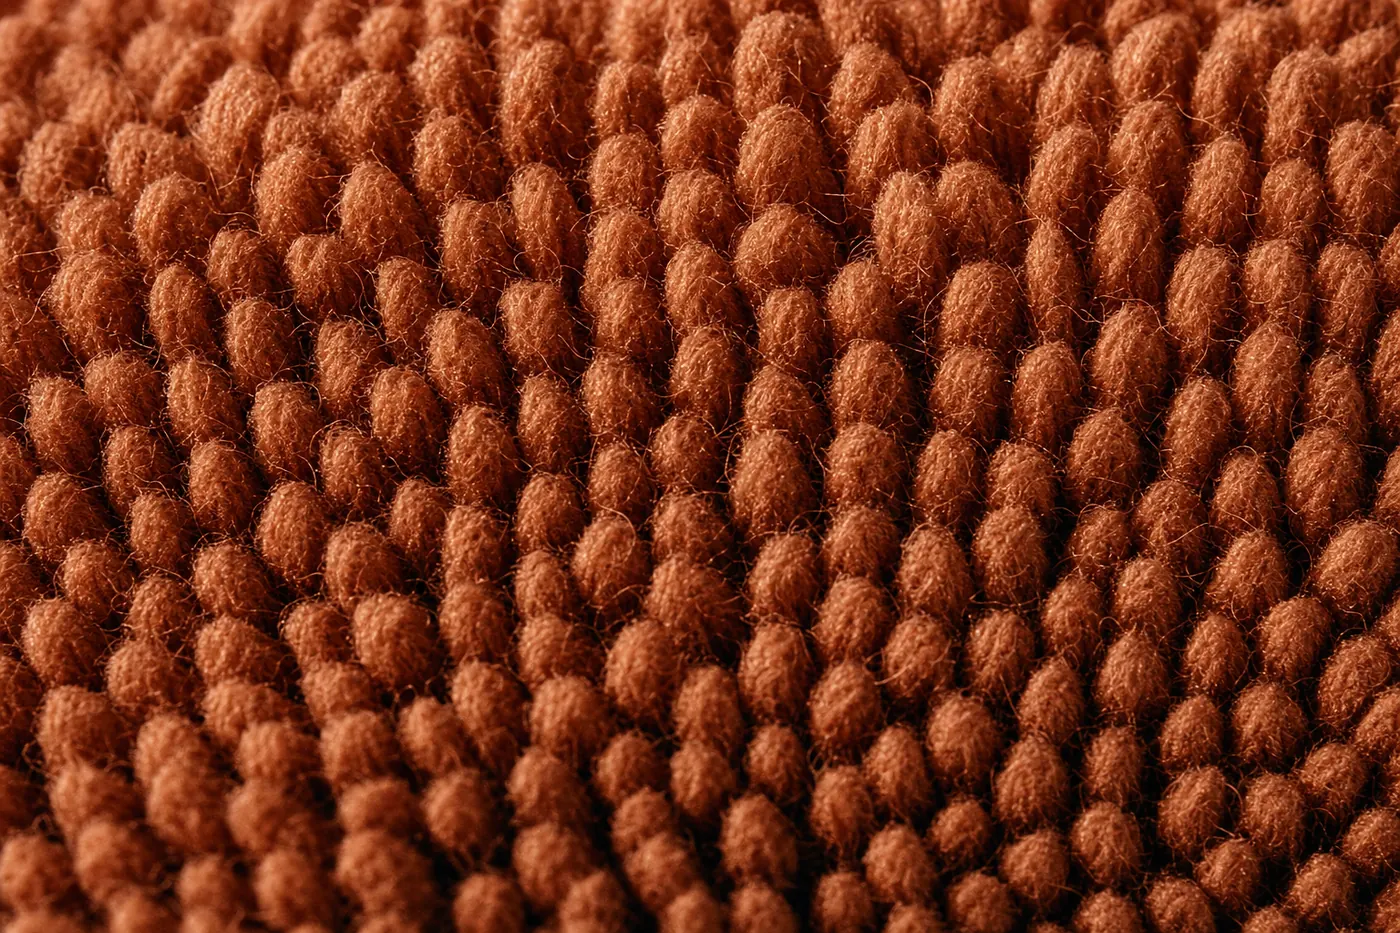
~5" square, two colors, straight rows only. Builds grip, anchor stitches, and consistent filling. Should take a comfortable evening.
Read the brief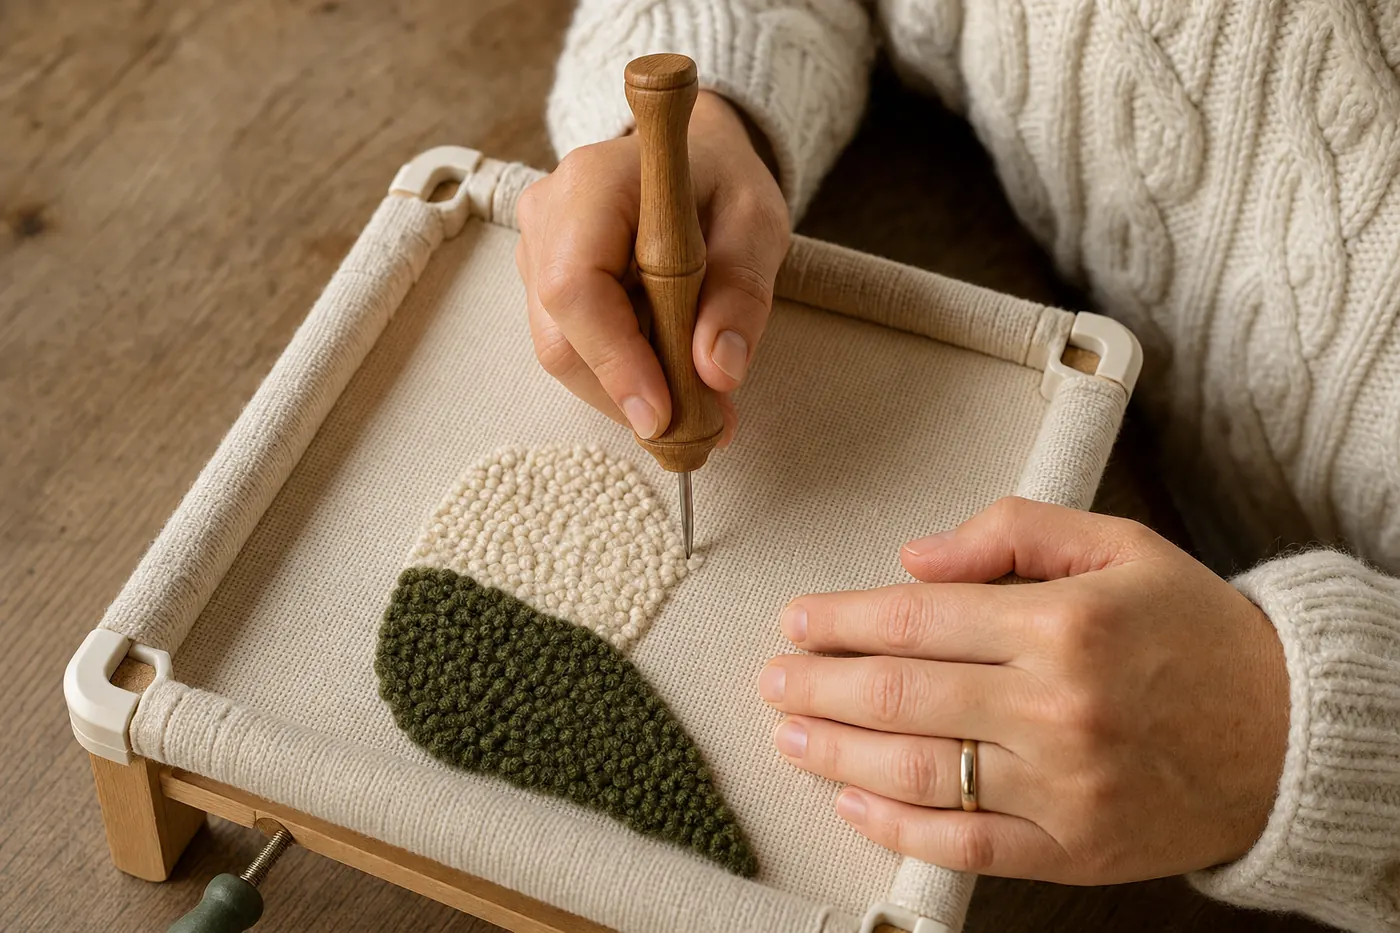
~10"×10", three colors, one curve. Introduces color changes, curved rows, and proper tail management.
Read the brief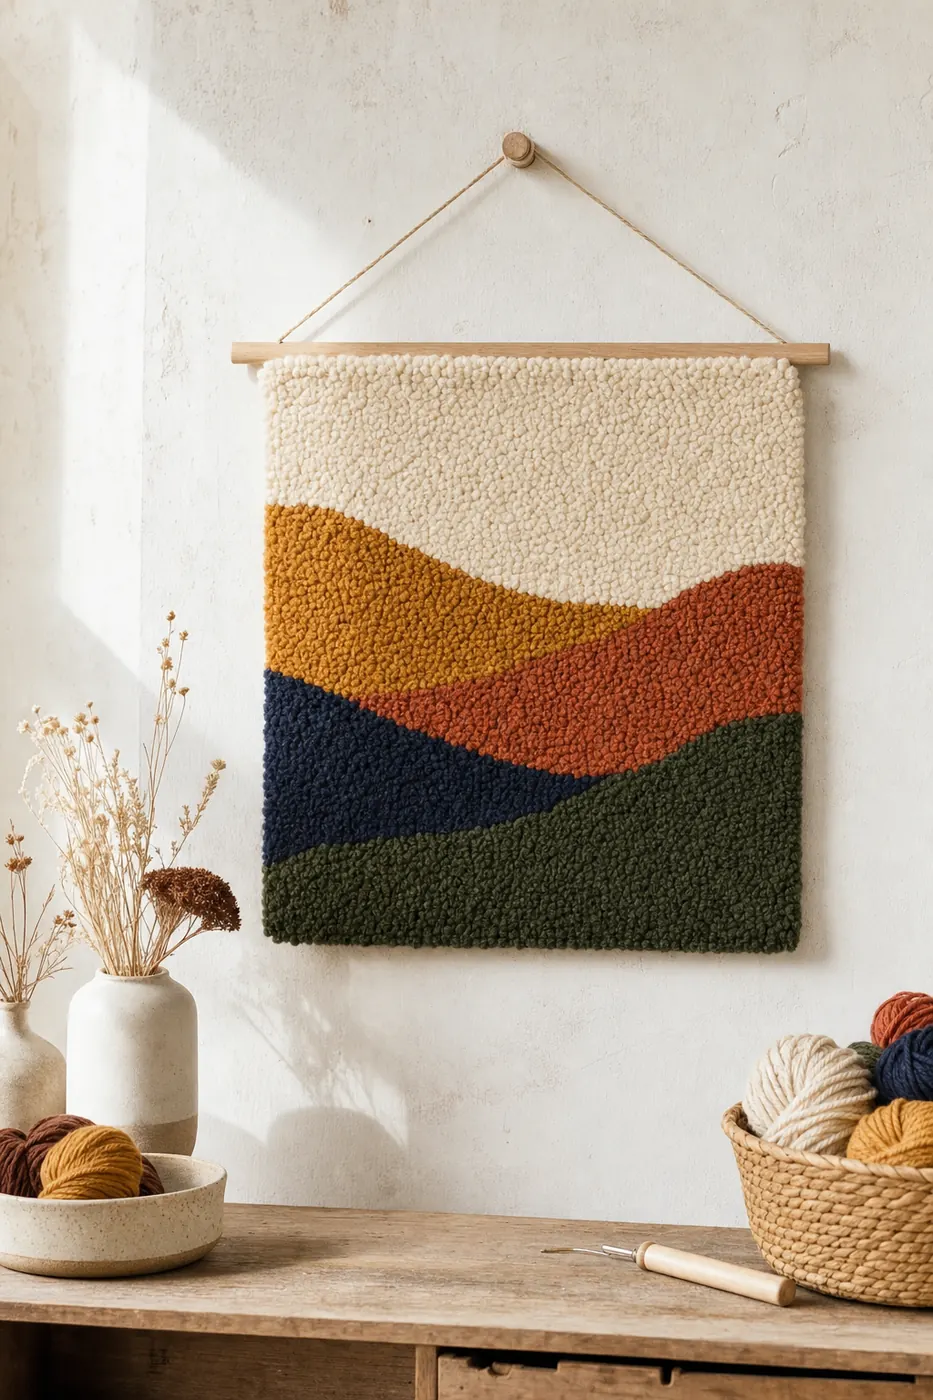
~18"×24", four+ colors, bordered composition. Introduces scale, edge binding, blocking, and glue-back finishing.
Read the brief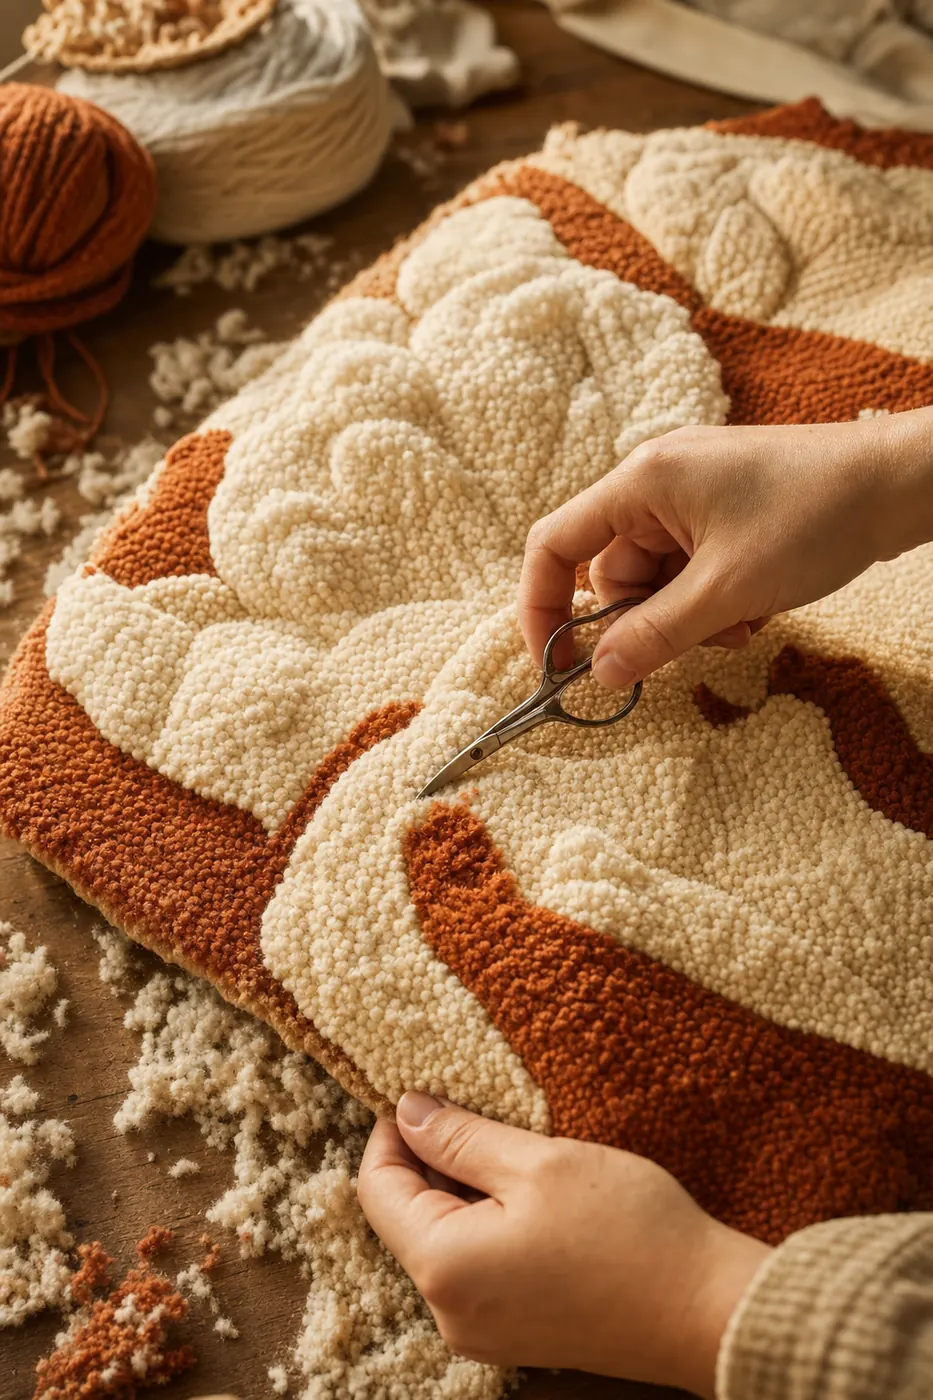
~14"×18", varied pile heights, carved relief. Introduces the adjustable needle, shearing, and dimensional sculpting.
Read the briefProject 01 · Mug rug coaster
Size: ~5"×5" (13cm×13cm). Time: 1–2 hours punching, plus finishing.
Goal
Build muscle memory for the pen grip, anchor stitches, consistent punch depth, and even row filling. Simple enough that mistakes are cheap.
Design
Two color blocks meeting at a straight horizontal line — top half one color, bottom half another. Nothing fancy. That's the point.
Materials
- Monks cloth: 13" square (leaves plenty of margin)
- 10" embroidery hoop or small gripper frame
- Punch needle: #10 Regular Oxford or adjustable at medium setting
- Yarn: two skeins of contrasting worsted-weight wool (~10 yards each)
- Fabric marker
Steps
- Prep the fabricCut, tape edges, iron. Mount drum-tight in the hoop.
- Mark the designDraw a 5" square in the center. Draw a horizontal line dividing it in half.
- Punch the outline of the square firstAll four sides, tightly packed stitches, in either color.
- Punch the horizontal midlineTightly packed, in one of your two colors.
- Fill the top halfRows parallel to the horizontal midline, working upward. Row spacing: ~3mm. Alternate row direction.
- Fill the bottom halfSame technique, different color.
- Trim tails, hem edges, steam-blockPer Module 06.
Project 02 · Simple wall hanging
Size: ~10"×10". Time: 4–6 hours punching, plus finishing.
Goal
Introduce color changes and one curved shape. Learn to switch colors mid-piece without disturbing surrounding loops.
Design
Three horizontal bands of different heights, with one soft arc curving across the middle band. Something like a stylized landscape or moon-over-hills. Free to steal from the hero image on the home page.
Materials
- Monks cloth: 18" square
- Gripper frame or 14" hoop
- Same needle as Project 01
- Yarn: three colors in worsted-weight wool
- Wooden dowel for hanging (10"), string, sewing needle and thread
New in this project
- Color changes. Each color starts and ends with an anchor stitch. Never leave a color mid-row — always complete a row or a shape.
- Curved rows. Follow the outline of the arc with tightly packed stitches, then fill parallel to the arc — not parallel to the frame's edges. Every row bends with the shape.
- Dowel hanging. Sew a top-back channel; slide the dowel; add string.
Project 03 · Small floor rug
Size: ~18"×24". Time: 15–25 hours punching, plus finishing.
Goal
Scale up. Deal with repositioning on a frame smaller than the final piece. Practice edge binding and consider glue-backing.
Design
A bordered composition — a 2" solid border in one color, framing a simpler central design with 3–4 colors. Traditional "rug" proportions.
Materials
- Monks cloth: 28"×34" (allows 5" margin)
- Gripper frame — ideally 20"×20" or larger; if smaller, plan to reposition
- Same needle as before, or a rug-weight adjustable at medium setting
- Yarn: 4+ colors in rug or worsted-weight wool. Estimate ~1lb total for this size.
- Cotton twill tape or extra monks cloth for hemming
- Optional: liquid latex or non-slip rug pad
New in this project
- Repositioning on the frame. If your frame is smaller than the rug, work one region drum-tight, then release, shift the fabric, and re-tension over the next region. Never work over already-punched loops — the gripper teeth will crush them.
- Full edge binding. Whipstitched hem or twill tape binding. Corner miters.
- Glue-back decision. Latex or leave bare? Both are valid — think about where the rug will live.
- Blocking. A rug this size needs a proper steam-block to lie flat.
Project 04 · Sculpted wall piece
Size: ~14"×18". Time: 12–20 hours across punching, shearing, and carving.
Goal
Everything comes together. Varied pile heights with an adjustable needle. Shearing selected regions. Carving relief. Steam-blocking a sculptural surface flat.
Design
A three-height composition: a background at the shortest pile, a mid-ground element at medium pile, and a foreground element at the tallest pile. Then plan a carving pass on the background to sharpen the mid-ground edges.
Suggested subjects: a botanical study (leaves on the tallest pile, stem at medium, background short); a moon-and-cloud (moon tallest, cloud medium, sky short); a simple portrait bust.
Materials
- Monks cloth: 22"×26"
- Adjustable punch needle (mandatory — a fixed Oxford can't do varied pile)
- Gripper frame 14"×18" or larger
- Yarn: 3–5 colors in worsted-weight wool
- Sharp appliqué scissors
- Optional: latex for glue-back after carving
Order of operations
- Punch the tallest features firstDeepest needle setting. Complete every tall region including outlines.
- Reset to medium, punch mid-groundButt tightly against the tall regions.
- Reset to shortest, punch backgroundFill everything left.
- Take off the frameYou'll do all shearing and carving off-frame.
- Optional: shear the background flatTo turn it from loop pile into cut pile.
- Carve edgesWork a narrow trench of shorter fibers along the border of the mid-ground, so it visually pops.
- Steam-blockFace-down, damp cloth, hot iron, press don't slide.
- Optional glue-backOnly if the carving exposed cut ends that need locking.
- Finish edges and mountWood dowel or velcro strip.